Grinch Fudge
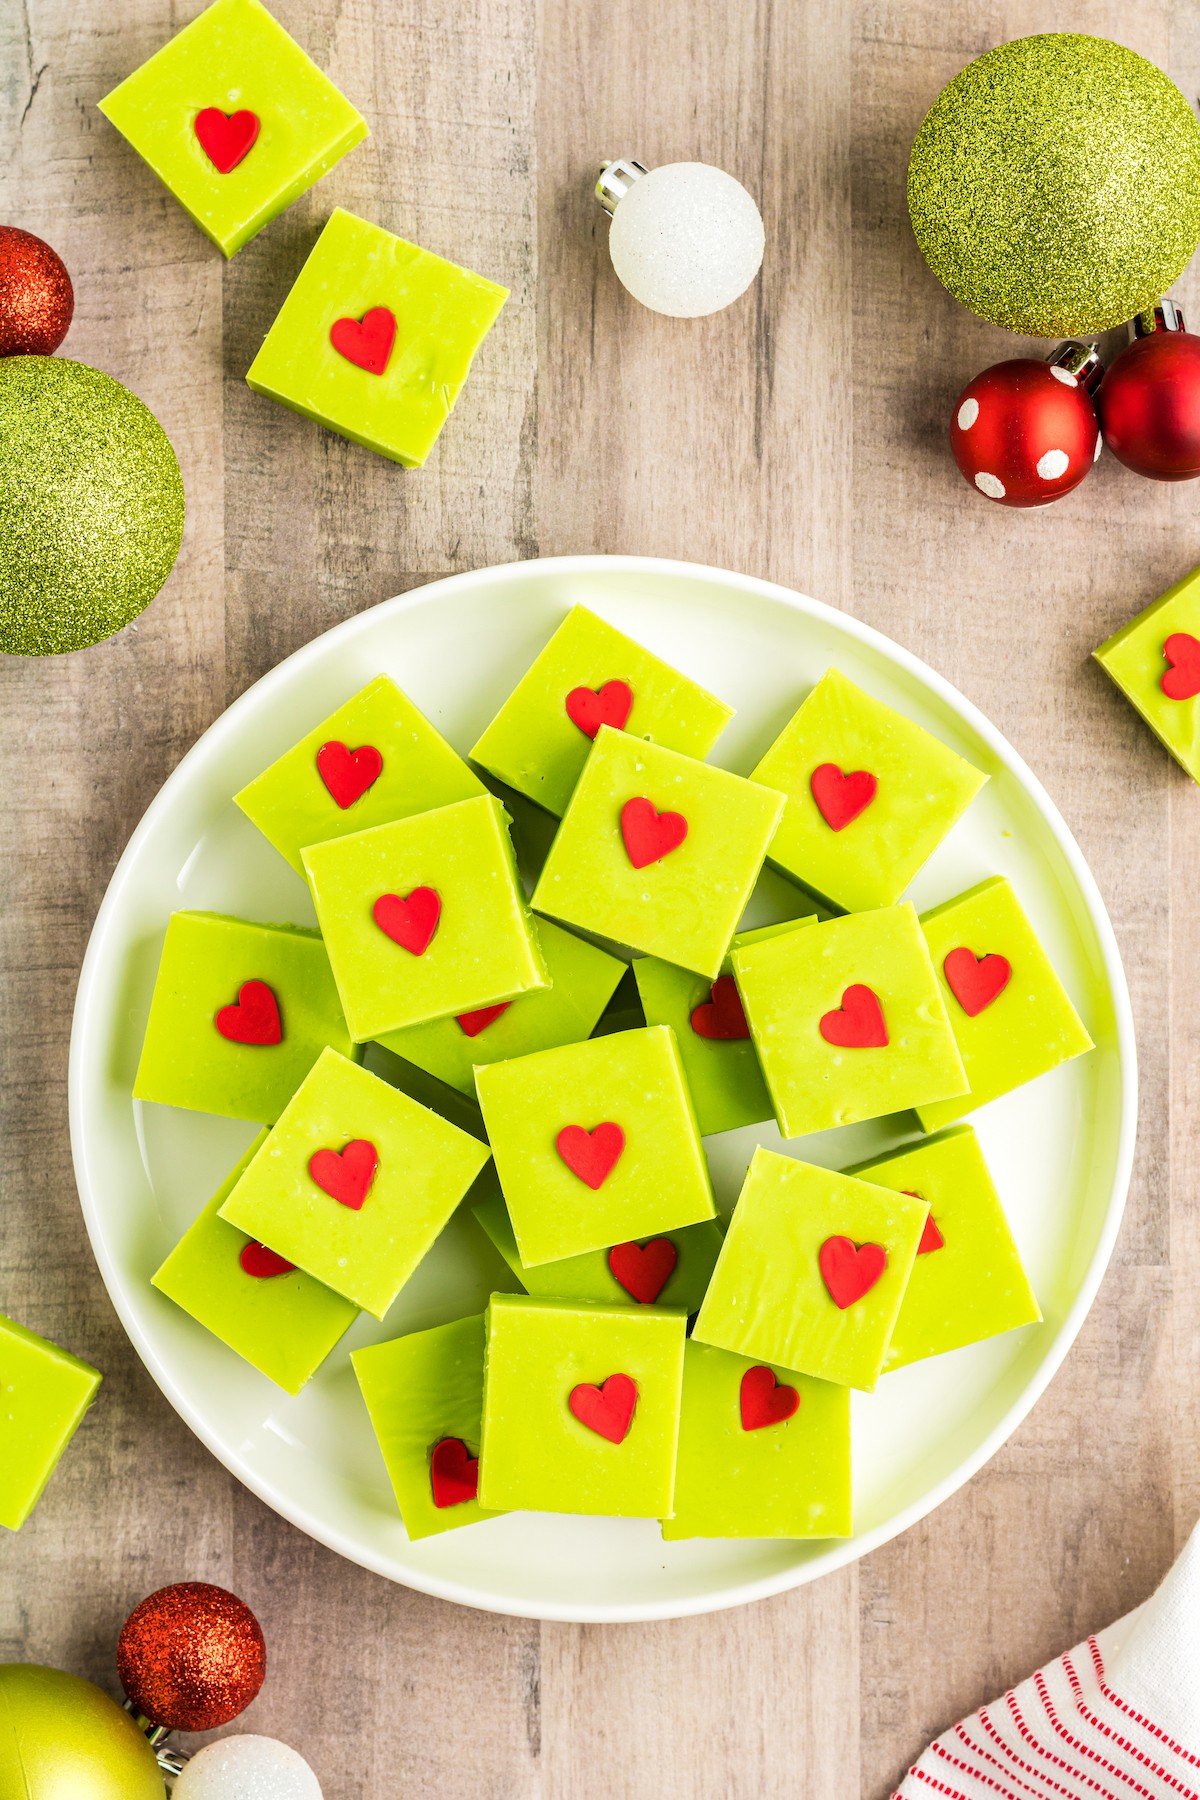
Grinch fudge is bright green, creamy, sweet, and finished with red heart sprinkles — and it is one of the easiest candies you can make in December. It starts with white chocolate and sweetened condensed milk, melted together into a smooth, thick fudge, tinted a vivid Grinch green, and poured into a pan to set. Once it is firm, you cut it into small squares and press a red heart onto each one. It looks like a candy shop treat, it tastes like vanilla and white chocolate, and it takes about ten minutes of hands-on time.
I make this fudge every year for holiday gift boxes, because it is the kind of candy that looks impressive and costs very little to make. A single batch makes about 36 pieces, which is enough for several gift bags, a dessert table, and a few pieces kept back for the cook. It sets in the fridge in a couple of hours, it cuts cleanly, and it travels well in a tin lined with parchment. Kids love the color and the hearts, and adults love that it is not fussy — there is no candy thermometer, no boiling sugar, and no precise timing to worry about.
If you have ever been nervous about making fudge, this is the recipe to start with. Traditional fudge can be temperamental, but this version uses sweetened condensed milk, which makes it almost impossible to get wrong. You melt, you stir, you pour, and you wait. The hardest part is not cutting into it before it has set.
Recipe at a Glance
- Servings: about 36 small squares
- Prep time: 10 minutes
- Setting time: 2 to 3 hours in the fridge
- Cook time: about 5 minutes (melting)
- Total time: about 10 minutes hands-on
- Serve: at room temperature or chilled, cut into small squares
Why This Recipe Works
This is a condensed milk fudge, which is a different kind of fudge from the old-fashioned kind that needs a candy thermometer and a lot of beating. Sweetened condensed milk is already thick and sweet, so when you melt it with white chocolate, the two combine into a smooth, stable mixture that sets firmly as it cools. The white chocolate gives the fudge its structure — as it cools, the cocoa butter in the chocolate firms up — and the condensed milk gives it a soft, creamy texture that is not grainy or crumbly. A pinch of salt sharpens the sweetness, and a little vanilla adds flavor.
The green color comes from gel food coloring stirred in while the mixture is still warm. Gel is concentrated, so a few drops give you a vivid green without adding liquid that would make the fudge soft. The key is to work quickly once the chocolate is melted: the fudge starts to thicken as it cools, and if you wait too long to pour it, it will be lumpy and hard to spread. Have the pan lined and ready before you start melting, and the whole process takes five minutes.
Ingredients
- 3 cups white chocolate chips (about 18 ounces)
- 1 can (14 ounces) sweetened condensed milk
- 2 tablespoons unsalted butter
- 1 teaspoon vanilla extract
- 1/4 teaspoon salt
- Green food coloring gel
- Red heart-shaped sprinkles, for decorating
- Green sprinkles, for decorating (optional)
A few notes on the ingredients: use sweetened condensed milk, not evaporated milk — they are not the same, and evaporated milk will not set into fudge. Check the can label to be sure. Use real white chocolate chips, not white candy melts, if you can — the flavor is noticeably better. If you do use candy melts, the fudge will set more firmly and taste sweeter, so add an extra pinch of salt. Gel food coloring is worth using here: liquid coloring can make the fudge soft if you add enough to get a bright green. And use a good vanilla extract — it is one of the only flavors in the fudge, so it matters.

How to Make It
- Line an 8 by 8 inch baking pan with parchment paper, leaving a little overhang on two sides so you can lift the fudge out later. Lightly grease the parchment. Have your sprinkles and hearts within reach.
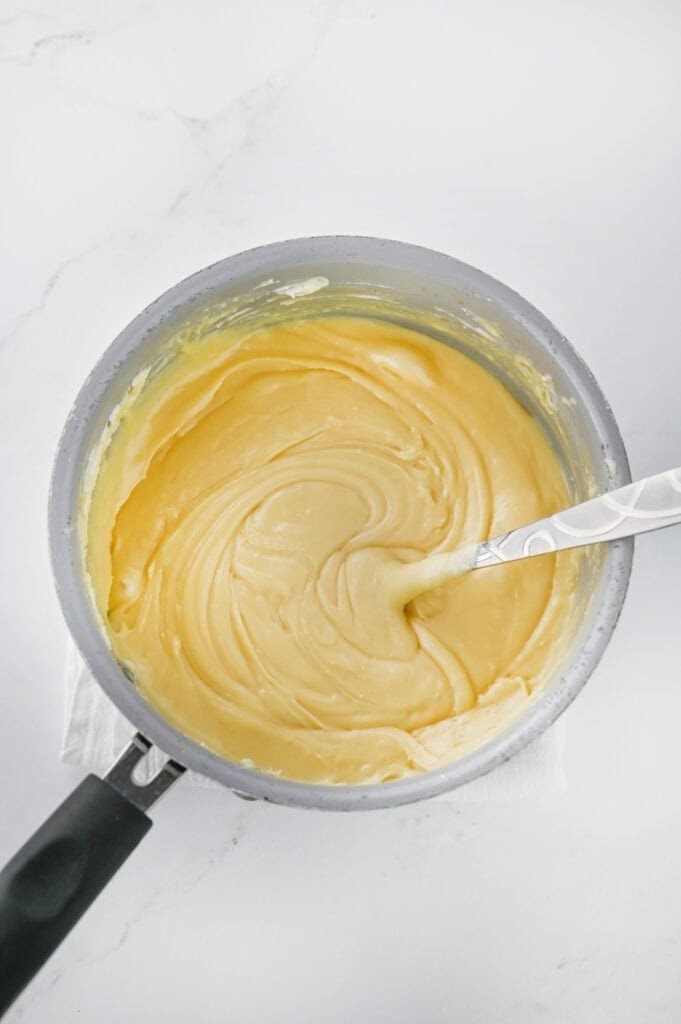
- Place the white chocolate chips, sweetened condensed milk, and butter in a medium saucepan over low heat. Stir constantly with a spatula until the chocolate is melted and the mixture is smooth, about 4 to 5 minutes. Do not turn the heat up to speed things along — white chocolate scorches easily, and high heat can make the fudge grainy.
- Remove the pan from the heat. Stir in the vanilla extract and salt. Add green food coloring gel a few drops at a time, stirring after each addition, until the fudge reaches a bright, cheerful green. The color will look slightly darker once the fudge sets, so make it a touch brighter than you think you need.
- Pour the fudge into the prepared pan immediately. Spread it evenly with the spatula, pushing it into the corners. Work quickly — the fudge starts to thicken as it cools, and if you wait, it will be hard to spread smoothly.
- While the fudge is still soft, scatter green sprinkles over the top if you like, and press red heart sprinkles gently into the surface, spacing them out so each square will get one heart when you cut it. A grid of 6 hearts by 6 hearts works well for 36 squares.
- Let the fudge cool at room temperature for 30 minutes, then refrigerate for 2 to 3 hours, until firm all the way through. Do not try to cut it before it is fully set, or the squares will be soft and ragged.
- Lift the fudge out of the pan using the parchment overhang and place it on a cutting board. Use a sharp knife to cut it into 36 small squares, wiping the blade clean between cuts. If the knife sticks, run it under hot water, dry it, and cut again. Serve at room temperature or chilled.
Tips for Success
The most important step is melting the chocolate gently. Low heat and constant stirring are the whole secret. If the mixture starts to look grainy or stiff, remove it from the heat immediately and stir vigorously for a minute — sometimes it smooths back out. Do not microwave the mixture in one long blast; if you prefer the microwave, use 30 second bursts and stir between each one. Pour the fudge into the pan as soon as it is smooth, and spread it quickly. If it starts to set in the saucepan, you can warm it very gently for 30 seconds, but it is better to just move fast. And let it set fully before cutting. A knife through soft fudge drags and smears, while a knife through firm fudge cuts cleanly. If your kitchen is warm, give it the full 3 hours in the fridge.
Variations
This fudge is easy to adapt. For a mint version, add a quarter teaspoon of peppermint extract with the vanilla, and top with crushed candy canes instead of the hearts. For a chocolate mint version, use half white chocolate chips and half semisweet chocolate chips, and swirl them together in the pan for a marbled look. For a strawberry version, stir in half a cup of freeze-dried strawberries, crushed into small pieces, and top with pink heart sprinkles. You can also add a layer: pour half the green fudge into the pan, let it set for 30 minutes in the fridge, then pour a layer of white fudge on top for a two-tone effect. For a nutty version, fold in half a cup of chopped pistachios — their green color fits the theme, and the crunch is a nice contrast to the creamy fudge. And if you want a different shape, pour the fudge into a lined loaf pan for thicker squares, or into mini muffin cups lined with paper for individual fudge cups.
Tips & Storage
Store the fudge in an airtight container at room temperature for up to 1 week, or in the fridge for up to 2 weeks. Put parchment between layers so the pieces do not stick together. It tastes best at room temperature, so take it out of the fridge 15 to 20 minutes before serving. The fudge freezes well for up to 2 months: wrap the whole slab tightly in plastic wrap before cutting, freeze it, and thaw it in the fridge overnight before cutting into squares. For gifting, pack the squares in a small tin or box lined with tissue paper, in a single layer if you can, and keep them cool until they reach their destination. A batch fits nicely in a pint-size tin with a few candy canes tucked around the edges. Serve the fudge on a dessert table, in a bowl with other candies, or as part of a holiday cookie tray — the bright green color stands out against brownies and cookies.
Frequently Asked Questions
Why is my fudge soft and not setting? The most likely cause is too much liquid, or not enough chocolate. Make sure you used sweetened condensed milk, not evaporated milk, and measure the chocolate chips carefully. If the fudge is still soft after 3 hours in the fridge, put it in the freezer for 30 minutes and cut it while cold.
Can I make this fudge in the microwave? Yes. Put the chocolate chips, condensed milk, and butter in a microwave-safe bowl and heat in 30 second bursts, stirring well after each one, until smooth. Then add the vanilla, salt, and coloring as written.
Why did my fudge turn grainy? The chocolate was overheated. Melt it on low heat with constant stirring, and never let it boil. If it does turn grainy, take it off the heat and stir vigorously for a minute — it sometimes smooths back out, but it is better to prevent it by keeping the heat low.
How do I cut clean squares? Chill the fudge until completely firm, use a sharp knife, wipe the blade clean between cuts, and run the knife under hot water if it starts to stick. Cut in one smooth motion rather than sawing back and forth.