Is There A Dry Ice Cleaning Method For Home DIY?

Are stubborn stains wearing you down, leaving you wondering whether there is a dry ice cleaning method you can try at home yourself?
If that sounds familiar, you have come to the right place to discover how DIY dry ice cleaning works and what it can do for your home.
This modern technique is praised as a strong yet planet-friendly alternative to the usual ways of cleaning a home.
Let us walk through the ins and outs of dry ice cleaning at home, along with a step-by-step guide that can change the way you clean.
What is Dry Ice Cleaning?

Dry ice cleaning, often known as CO2 cleaning, uses small pellets of dry ice to strip away contaminants from a surface.
When those pellets hit dirt, they sublimate — changing straight from a solid into a gas — and that burst of gas carries the loosened residue away.
The method works well on grime, grease, and other tough build-up, all without relying on harsh chemicals.
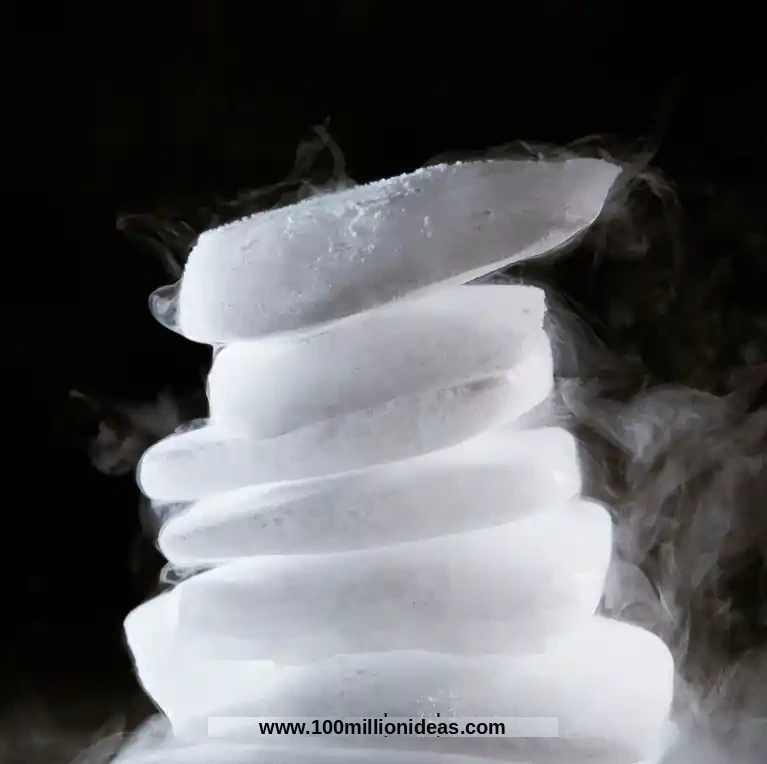
Fun Fact: Dry ice is extremely cold, sitting at around -78.5 °C (-109.3 °F).
Benefits of Using Dry Ice Cleaning for Home DIY
Here are some of the reasons dry ice cleaning works so well as a home DIY method:

- Eco-Friendly Solution: Dry ice is non-toxic and leaves no harmful residue behind, so it is a sustainable and safe way to clean.
- Effective on Delicate Surfaces: Because the process uses no water, you can safely clean machinery and electronic gadgets with it.
- Reach Hard-to-Access Areas: The pellets can get into tight corners and crevices, and they can also help with mold and pests hiding there.
- Versatility: You can use it just about anywhere, at any time — from outdoor grills to patio furniture.
Step-by-Step Guide to Dry Ice Cleaning at Home
Ready to give it a try? Here is a step-by-step guide to dry ice cleaning at home:

- Prioritize Safety: Gloves, goggles, and a mask are essential to protect yourself from cold burns and from breathing in carbon dioxide.
- Set Up Your Workspace: Ventilate the area well so fresh air can circulate and gas does not build up.
- Load the Equipment: If you are working with an air compressor, fit the dry ice adapter firmly in place and check that everything is secure.
- Test on a Small Area: Always try a small patch first to make sure the surface will not be damaged.
- Start Cleaning: Point the nozzle at the dirty surface, keep it a few inches away, and move it in slow circles for the best results.
- Inspect- Repeat-Dispose: Go over the cleaned areas again — if a spot is still dirty, clean it once more; if it is clean, clear away any leftover residue and dispose of it for a tidy finish.
Added Tip: You can save any leftover dry ice in the freezer for your next cleaning session!
Tips for Successful Dry Ice Cleaning
Here are a few tips to keep in mind when cleaning with dry ice:

- Be Patient: Take your time — a steady, careful approach gives the best results.
- Mind Sensitive Materials: Keep dry ice away from soft plastics and delicate fabrics, which it can damage.
- Maintain Good Ventilation: Carbon dioxide can build up fast, so always work in a well-ventilated space with plenty of fresh air.
Common Mistakes to Avoid When Using Dry Ice
When you first start cleaning with dry ice, it is easy to slip into a few beginner mistakes. Here are the main ones to watch out for:

- Neglecting Safety Gear: Always protect yourself against frostbite and breathing difficulties.
- Applying Too Much Pressure: Let the dry ice do the work — pressing too hard can damage the surface.
- Failing to Test First: Always run a small test on the surface before moving on to a larger area.
Conclusion
That covers the dry ice cleaning method! You can try it yourself at home to keep your space clean with far less effort.
Just be sure to take the right precautions and follow the detailed guide above to give your cleaning routine a fresh start.
So what are you waiting for? Step into the fascinating world of dry ice cleaning today — your home will thank you for it!
Frequently Asked Questions About Dry Ice Cleaning
1. Is dry ice cleaning safe for home use?
Yes! As long as you follow the right method and take safety precautions such as wearing protective gear and keeping the area ventilated, it is safe to use at home.
2. Can dry ice cleaning be used on electronics?
Yes! You can use dry ice cleaning on electronics — just make sure you switch off every device you plan to work on first.
3. How should I store leftover dry ice?
You can keep leftover dry ice in the freezer in a container with a ventilated lid. This helps you store it without excess carbon dioxide building up.
4. What is the average cost of dry ice?
The average cost of dry ice depends on where you live, but you can typically expect to pay around $1-$4 per pound.
5. Is it possible to make dry ice at home?
No! While it is technically possible, making it at home is not safe. We recommend buying it from a reputable supplier instead.
6. How long does dry ice last?
Dry ice usually lasts around 18-24 hours, depending on how it is stored. If it is left exposed to the air, it may only last a couple of hours.
7. Is dry ice cleaning suitable for all surfaces?
While it works well on most surfaces, avoid letting dry ice come into contact with water containers, soft plastics, and delicate fabrics.
8. Can I use dry ice cleaning for outdoor cleaning projects?
Definitely! Dry ice cleaning is great for outdoor items such as grills, patios, and outdoor patio furniture.